
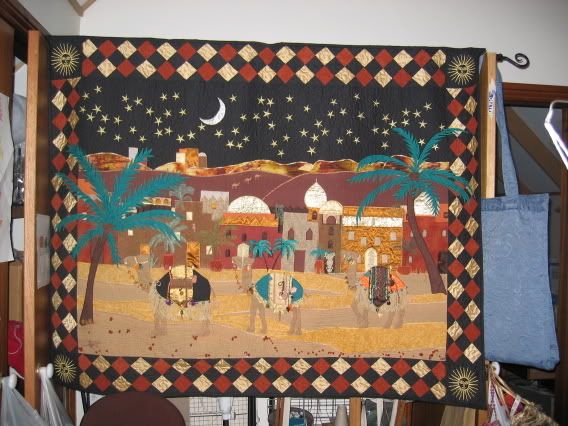
This type of finish is used in the place of binding. You can use the same fabric as the border, the back, a contrast - the choice is yours. I used this method for this particular quilt because for some reason I had some sort of brain infarct and the back wasn't big enough - oops.

Check the edges of your quilt to see if any adjustments need to be made to the width and length. I do this by folding in to the middle. Do the edges overhang? If so, you will need to adjust them, just as you do with a normal binding. Measure through the middle of the quilt or take a couple of measurements across the quilt (whatever method works for you). Cut your strips a little longer than this measurement. Mark with a couple of pins, the start and finish leaving the excess evenly at each end. Quarter and eighth this strip, marking with a pin at each point. Make a matching second strip for the other end. Now fold and pin the quilt top into quarters and eighths. Pin the strips, right sides facing each other, matching your marking points. Do both ends. Ease if necessary. Stitch these strips into position using a 1/4inch seam. Leave the end pins marking where it should line up with the edge of the quilt and start stitching about an inch in. Don't bother to tie on and off as you will need to undo some stitches shortly.

Repeat for the other two sides. Make sure you open out the ends so you don't accidentally sew over them. Take the quilt to the ironing board.

You are going to make a mitred corner now. The edge just sewn on to the quilt should be laying flat on the quilt - right sides together - this will be a little messy at the corners for a minute. Peel back the first piece of fabric from the corner and fold back on itself creating a 45degree fold. The fabric will now be wrong sides together in the corner. It should line up with the corner of the quilt. Fold back the other piece of fabric, it should look like the picture below.


Press in a fold line on both pieces. This is where you may find it easier to undo a few stitches. Pin the the pieces together following the fold lines and stitch.

Trim the seam and press open. Restitch around the corner, making sure everything sits flat.

If you are just going to do a straight facing, you will now just need to trim the corners back and then flip the facing over to the back. (You can join me in a minute for the finishing).# If you wish to do curved edges or scallops, you are now going to need to draw up some paper templates to create a placement guide.
For this example I did a scallop template. You will need to decide how deep you wish to take the scallop - this example is 1 inch. Fold your paper into a concertina type fold or just do two or three folds. If you are doing a more sweeping design for the edges, you may need to make a full size template or just draw up one half, but remember to flip it over where necessary.

Cut out the desired shape. You will need to take care if you are doing scallop type designs. Every single scallop needs to have the same side depth. If you are doing a round corner, you will need to draw this in.

The best methods for marking out the templates is to either start bang in the centre and work out or start in the corners if you have some specific shape in mind for those, and then work towards the centre. You can adjust these shapes to get a pleasing arrangement when you get to the centre.

The following photo shows the back of the quilt. The facing in position on the front, waiting to be flipped to the back. You can also see the stitched line that you have completed (1). (2) shows the template line that you will sew on. When drawing the template, do not draw above the sewn line - if you are doing scallops or curves, they will end up with flat tops (3).

Now sew on your drawn line, remember this is the stitching line. If you are doing curves make sure you have your needle down when sewing, it will make for sharper corners and cleaner curves.

Trim back the fabric to a 1/4inch seam, clip the curves and make "v" notches where appropriate, trim off any corners.

#Flip the facing over to the back of the quilt and adjust the seam line, by rolling between your fingers, until the seam is either right on the edge or just rolling to the back. Pin until you are ready to press.

Now as we all know, a third hand would come in very handy at this point, especially when you are trying to roll, press and take a photograph - with the back of the quilt facing you, and with pins removed from the area where you are going to work, adjust the facing by pulling towards you a little and press at the same time. Continue around the entire quilt. Remove the pins before you press as you will end up with marks.

Using a suitable thread - needle and bobbin, stitch around the entire quilt. Work from the front and stitch using either a straight stitch or decorative stitch with tensions adjusted accordingly.

To finish off the raw edge, undo a few stitches from the corners and fold the fabric under. Press and pin, then slip stitch into position. As you are stitching, make sure you secure these corners as you go.


And there you go, a faced wavy edge. (Yes I know I started out with scallops, but there was a mishap - okay!! - it involved scissors and clipping).


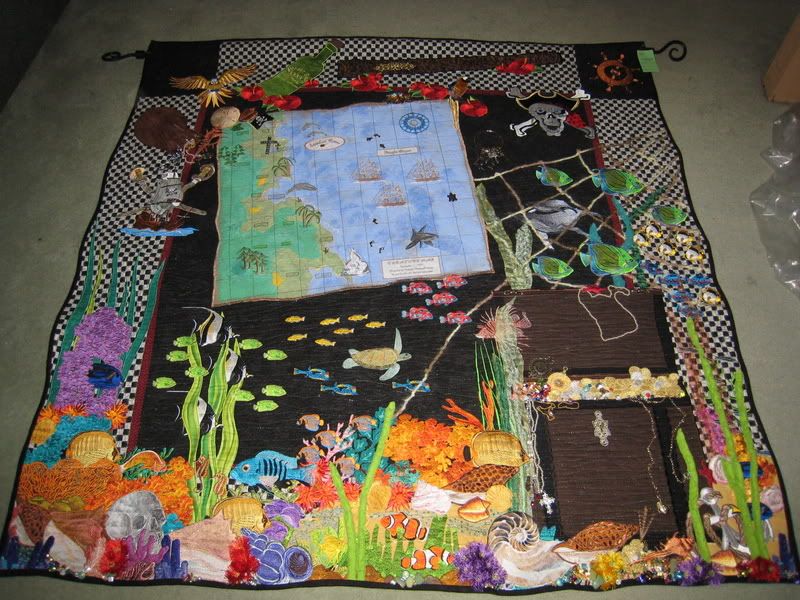
For enquiring minds, the turtles are machine embroidered and came from Embroidery Library.
Hope this is of help to some of you.
Till next time.
Sue


 Quilter Blogs & Store Search
No comments:
Post a Comment
I would love to hear from you, just so I know I am not talking to myself - the cat is tired and so is the dog!