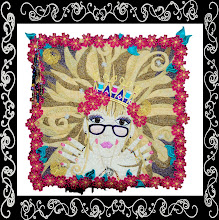
I stitched out a redwork/trapunto type design, then coloured in with the Inktense Pencils.
To make these colours come alive, you then have to add water or in this case some JoSonya Textile Medium. Note the change in colour.

I then fished out some Aquarelle's that were kicking around and roughly drew (and I mean roughly) a couple of flower shapes. Again I washed over them with some Textile Medium.


I did heat set both lots and left them for a couple of days. I threw them in the washing machine today, the Inktense sample held its colour really well, the Aquarelle's not so well, but they are meant to give a water colour effect, so in my moments of relaxation I will do some free motion outline work on the sample and see how it comes out - I still think it will give a great effect.
The sample was too nice to leave as a UFO - although I have only made it this far with it today - so I thought I would demonstrate a frame finish . This is a great way to use a fabric that has a large print - you know - the one you bought because it had a beautiful big design on it, but now find it impossible to do anything with, because whatever creature is on it will be reduced to either having no head, or only its bottom in a square.
For a small piece like this, it was easy enough to fold the fabric and press lines in it to mark the centres. On a larger piece, mark with chalk or other medium. You will need to cut a second piece of fabric for the facing - in the picture it is face down) - I have drawn lines to show centre. Next I traced the outline of the embroidery design and then cut a shape to use as a template.
This is a bit like a donut and the hole. Check the template size for fit. Do you need to make the hole bigger? This will be the sewing line. Because we are now all becoming aware of the 101 uses of the glue stick, I placed a few dabs on the template and stuck it in place and I also used a couple of dabs to join the two pieces of fabric together, to reduce "slippage". Keep the glue within the area to be cut away. Next you need to stitch around the template.

When the stitching is done, trim away the centre, leaving a 1/4inch seam allowance. This should now be clipped.
Now bring the smaller piece of fabric through the hole and finger press seam, until all points are in place.

This is what the back looks like. (above).
Now centre the frame over the embroidery or fussy cut piece of fabric.

Pin or use a little glue to keep in place. Top stitch around the entire frame then trim any excess fabric away underneath.
Your piece is now ready to use. Use whatever shape best compliments the design you are trying to frame. Circles, squares, rectangles - just try not to make them too complicated with lots of points to push out!!
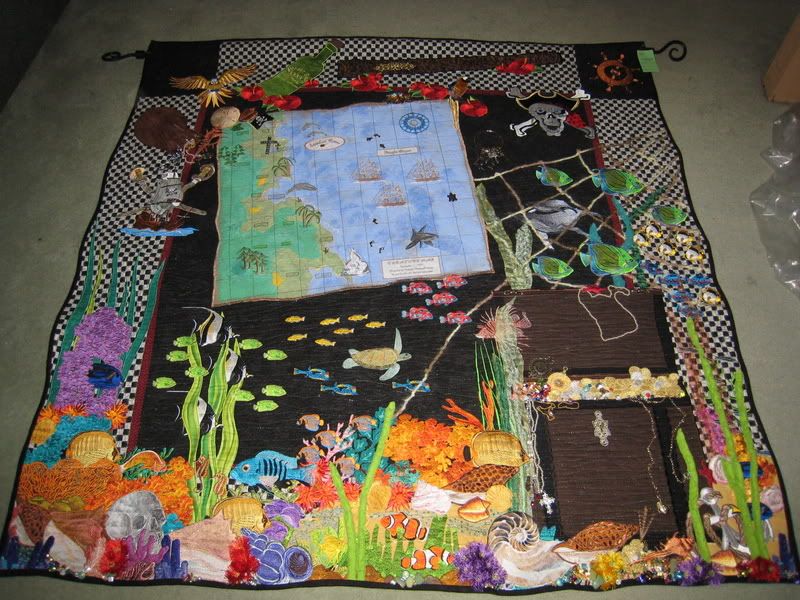
I also finished a sample today of some free motion embroidery for a class I am giving next week. The fish thing is becoming a bit of a joke, but they do lend themselves so well to creativity.
See you soon.
Sue


 Have a great week. Sue

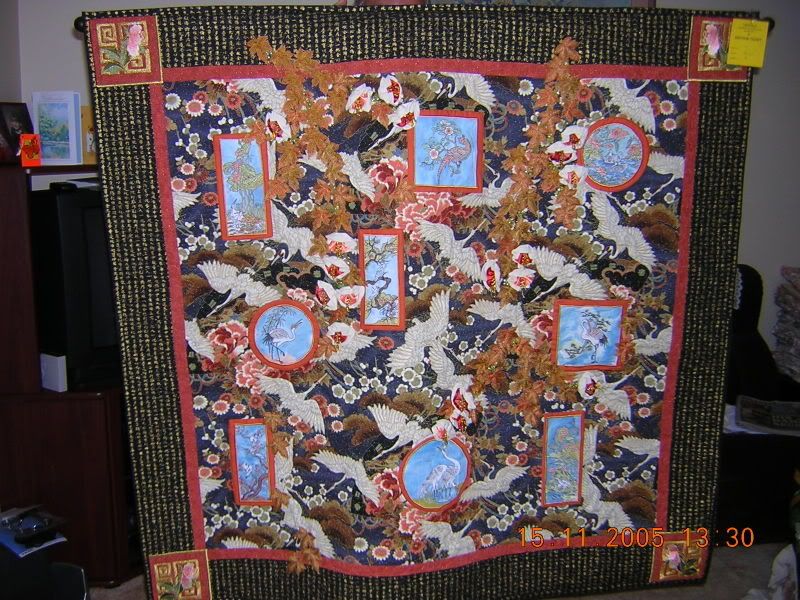
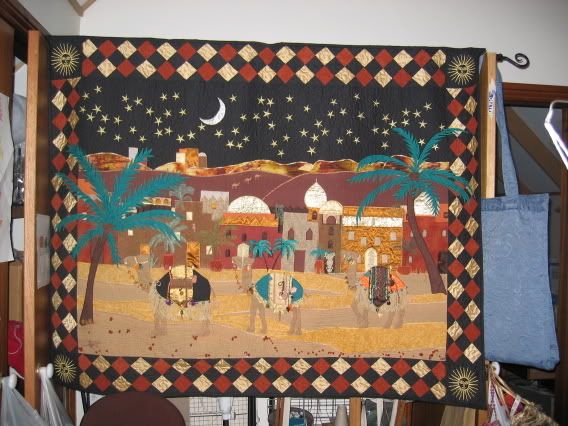
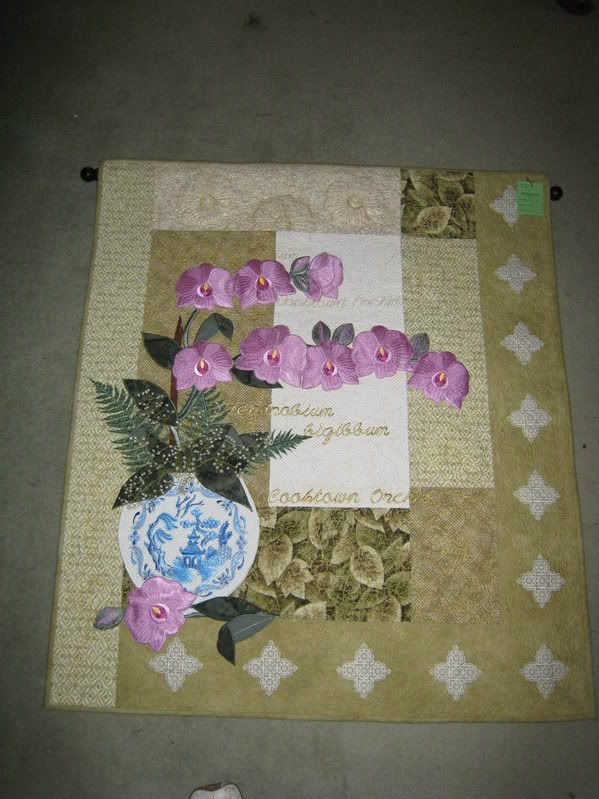
 I am teaching a class on machine embroidery next week, so I hope they will inspire and show a few techniques.


 Bye for now.


 Hey presto, done!!


 Give the mitre a press. The pressed line will be your sewing line. If you set up each corner in the same manner every time (quilt to the left), the piece will go on to the sewing machine in the correct order every time.
 Place the border piece back into position. Use the pressed line as a guide.


 Quilter Blogs & Store Search