Sue xxx
Wednesday, December 24, 2014
Sunday, December 7, 2014
Using the Jumbo Hoop on the PR 1000
Well the washing machine has been working overtime here - I thought I would give tie dye a whirl.....mixed results but I got some hints from the lady at the dye shop I frequent so did a bit more "throw it all around and see what happens" dyeing and overdyeing and colouring the grass......lots of fun, now to sew with some of it! (My friend Helen said I should keep notes of what I did - my reply was I am like the creator of Milton the Monster, once I get dye mixed I keep chucking it at fabric - a few drops of essence of terror, five drops of sinister sauce - who has time to write notes, there is colour to be created woman!)
I digitised this large dragonfly and took it for a test spin. Made a couple of alterations and then thought for those who may not have tried their jumbo hoop because it looks too intimidating, a pictorial tutorial (try saying that fast), may just get that hoop out of the box......so here goes.
First you need a jumbo design - there are a few about. First, send the design to the machine - if your software allows the jumbo hoop, save the pieces in the order they need to be stitched - in this case it is the single wing first, then the second wing and the body (these two are saved together).
When you send the design to the machine, the machine will ask you to select the first piece of the design - edit this piece on the machine if you need to - adding colour choices, stops (in cases of an applique design), just as you would for any design.
Go to the "Sewing" screen and begin stitching the design piece. When stitching is complete, the machine will signal for you to "come hither and do as I tell you" - or ring the chime many, many, many times...........
That little sticker now needs to be positioned within the red square on the screen - make sure it is stuck down firmly. Press the okay button.
The machine will now tell you to take the hoop out of the machine and turn. The sticker needs to be left in position at this point. When the hoop is in position, press the OK key again.

The second piece of the design will now be in the correct position and you can begin stitching. I put a basting stitch around both sides of the wings so I could tell immediately that the wings were at the same level on both halves.
Give it a go. Sue xxx
I digitised this large dragonfly and took it for a test spin. Made a couple of alterations and then thought for those who may not have tried their jumbo hoop because it looks too intimidating, a pictorial tutorial (try saying that fast), may just get that hoop out of the box......so here goes.
First you need a jumbo design - there are a few about. First, send the design to the machine - if your software allows the jumbo hoop, save the pieces in the order they need to be stitched - in this case it is the single wing first, then the second wing and the body (these two are saved together).
When you send the design to the machine, the machine will ask you to select the first piece of the design - edit this piece on the machine if you need to - adding colour choices, stops (in cases of an applique design), just as you would for any design.
Go to the "Sewing" screen and begin stitching the design piece. When stitching is complete, the machine will signal for you to "come hither and do as I tell you" - or ring the chime many, many, many times...........
Now, you need those stickers that look like a snowman........The panda is just hiding my disgusting fingernail that is coloured from all the dyeing!
That little sticker now needs to be positioned within the red square on the screen - make sure it is stuck down firmly. Press the okay button.
When the machine has recognised the snowman you will see the red outline. Make sure you put the sticker on with the small circle to the top! See how the snowman has gone red!
The machine will now tell you to take the hoop out of the machine and turn. The sticker needs to be left in position at this point. When the hoop is in position, press the OK key again.
The machine will again move until it has found the sticker which is now upside down.

Now you can remove the sticker and select the next piece of the design.
The second piece of the design will now be in the correct position and you can begin stitching. I put a basting stitch around both sides of the wings so I could tell immediately that the wings were at the same level on both halves.
Give it a go. Sue xxx
Wednesday, December 3, 2014
FUNKY FELT FLOWERS.....
.....try saying that real quick!
These whip up in no time. Attach a brooch back and add to a hat or a bag, add some ribbon and make a banner, stick to a wreath for a front door or as I did, attach to sticks from the garden and place in a vase for a non dying display!
Sue xxx
These whip up in no time. Attach a brooch back and add to a hat or a bag, add some ribbon and make a banner, stick to a wreath for a front door or as I did, attach to sticks from the garden and place in a vase for a non dying display!
Sue xxx
Monday, November 17, 2014
Skeleton Leaves
Did a bit of sun dyeing last week and made some nice background pieces. Inspired by leaf litter and those magical skeleton leaves, I set to work designing some of my own.
Sue xxx
Thursday, October 30, 2014
50% OFF SALE - MACHINE EMBROIDERY DESIGNS
https://www.etsy.com/au/shop/Tiramisue2?ref=hdr_shop_menu
Sue xxx
Saturday, October 25, 2014
Sweet 16 Quilting Machine - Couching
Have you got the couching set yet for the Sweet 16? Really easy once you get going. I have made a short video to show how to set up the yarn for couching. You will see lots of demo's with the yarn laying on the quilt top. This idea gets it out of the way and the flow is continuous and unhindered. You can purchase a yarn/wool winder from Ebay - buy one with a cone system so you can stand it on the machine and out of the way.
Have a look at the video and let me know how you go.
https://www.youtube.com/watch?v=BD5YTb9Qvaw
You can see I have added a rather large hook - one of those 3m type picture hangers - it was the only one I had floating around when I tried this out. A much smaller version will do!
Friday, October 24, 2014
....And now for something completely different!
Just put my first set of kaleidoscopes up on Etsy. These are so addictive - print them up on fabric and use as quilt panels - there are 9 different ones in the set, decorate a t-shirt, use in scrapbooking, make a greeting card.......use your imagination. This set is based on a photograph of a giant Marigold my dad had growing in the garden.
https://www.etsy.com/au/listing/208451074/kaleidoscopes-set-of-9-images-giant
Have a great weekend! Sue xxx
Friday, October 10, 2014
Meerkats - Simples!
Anyway, when I saw the artwork for these, I had to do them........and although the facial features are "simple" I think they are very expressive. These come in four sizes for the embroidery machine. They come in two styles - one with stripes, one without stripes. As they are applique, they are pretty quick to stitch. The biggest one is just about life size for a meerkat.
Quilting was done using the Sweet 16 - I am enjoying using this machine! The Vlysofix was having some sort of attack so even though the Meerkats where originally done with the trapunto technique, I had to over stitch some bits to try and disguise the puckering from the glue. Still turned out pretty well.
Designs are now up at Etsy - see side bar.
And for a chuckle - Meerkat Blooper Reel!
https://www.youtube.com/watch?v=RvnsJ0Zfw4k
Have a great day.
Sue xxx
Tuesday, September 16, 2014
Yeti Quilt - Unleashing the Applique
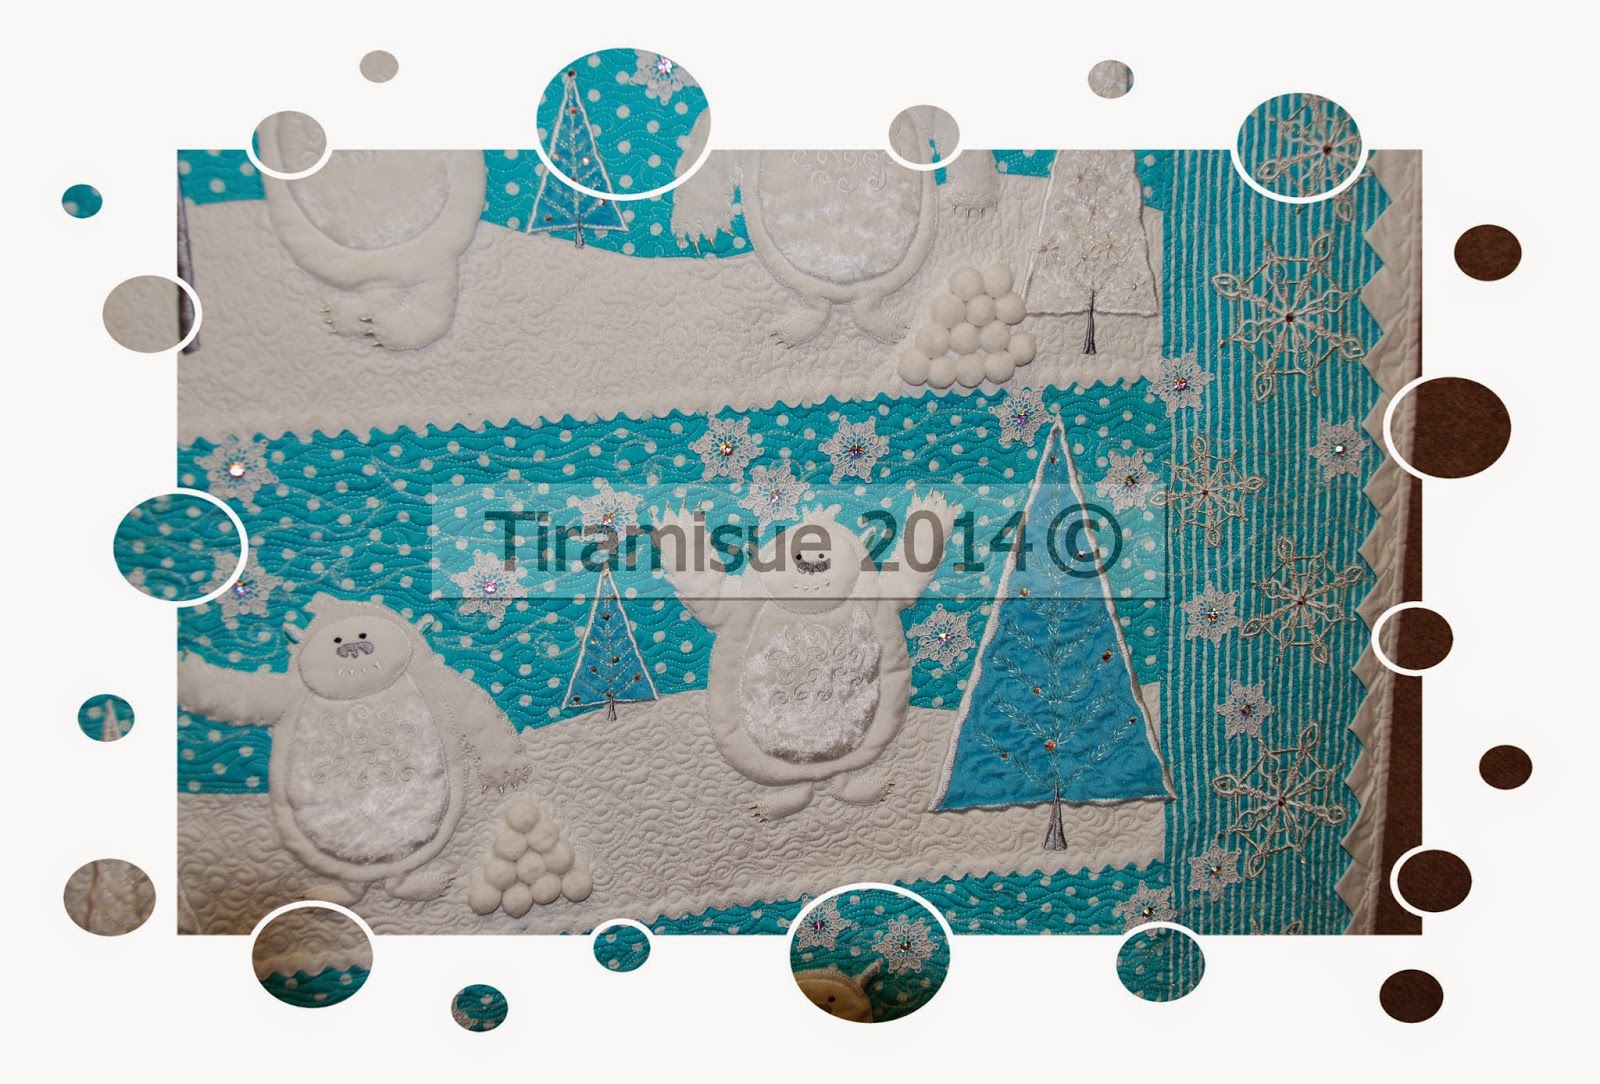
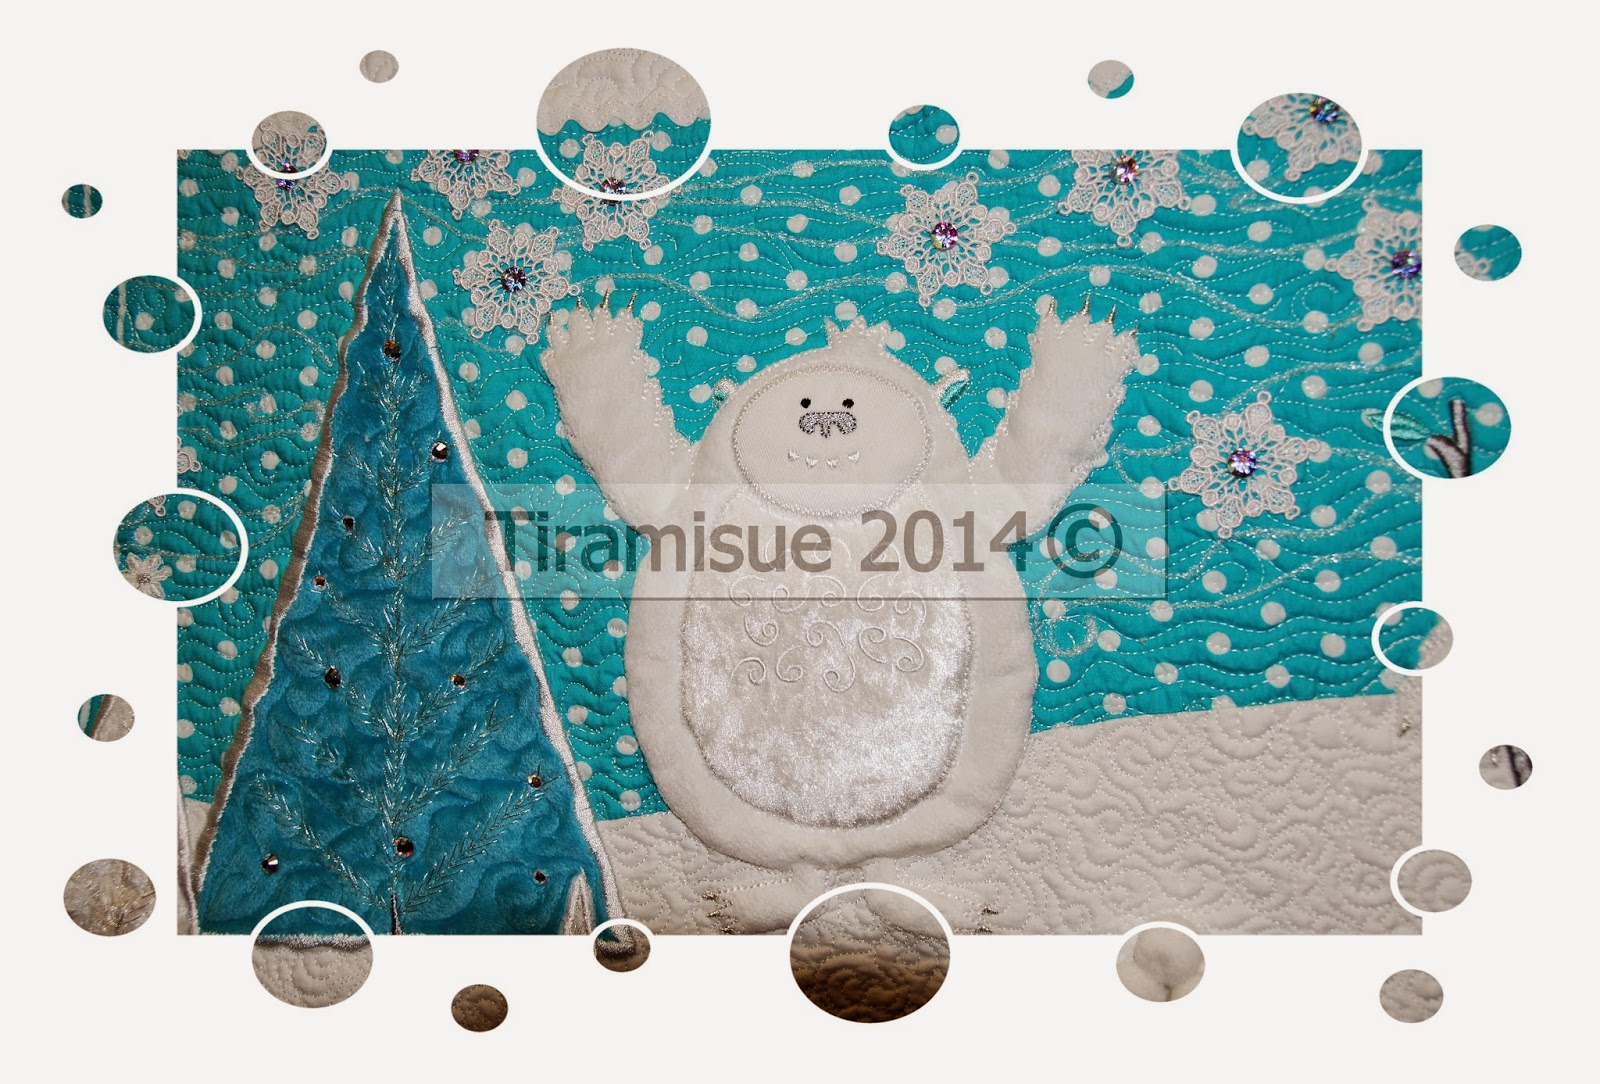
Whilst I still have to add a rod pocket to the back of this wall hanging, to all intents and purposes, we are done! Lots of jewellery has given up life as a bracelet or two for the cause. There are also lots of Swarovski crystals just to make sure the shine lasts for a long time. The edge is finished with prairie points and ric rac.
The yeti themselves are appliqued by embroidery machine (how else would I work) and are very soft being made from Minke and Panne Velvet. Each Yeti has been given an extra layer of padding to make them puff out a bit! I made about 80 free standing lace snowflakes that I picked up on sale a couple of weeks ago. The snowflakes sewn directly on to the fabric are digitized by moi!
A couple of the guys have piles of snowballs - all stacked and ready for a battle. I tried out the couching foot on the Sweet 16 - and used a crystal yarn to create a bit of "movement" across each section. How much fun are the couching feet! I will have more on that in another post.
Non embroidery machine people often think that all this comes together by just pressing a button. Let me tell you, "that so ain't the case!" The icicles across the top equate to about 200,000 stitches alone. The snowflakes were stitched on to wash away fabric and I stitched 22 at a time = about 7 hours of stitching. So yes, it all just happens at the press of a button!
Have a great day. Sue xxx
Subscribe to:
Posts (Atom)


