Well the washing machine has been working overtime here - I thought I would give tie dye a whirl.....mixed results but I got some hints from the lady at the dye shop I frequent so did a bit more "throw it all around and see what happens" dyeing and overdyeing and colouring the grass......lots of fun, now to sew with some of it! (My friend Helen said I should keep notes of what I did - my reply was I am like the creator of Milton the Monster, once I get dye mixed I keep chucking it at fabric - a few drops of essence of terror, five drops of sinister sauce - who has time to write notes, there is colour to be created woman!)
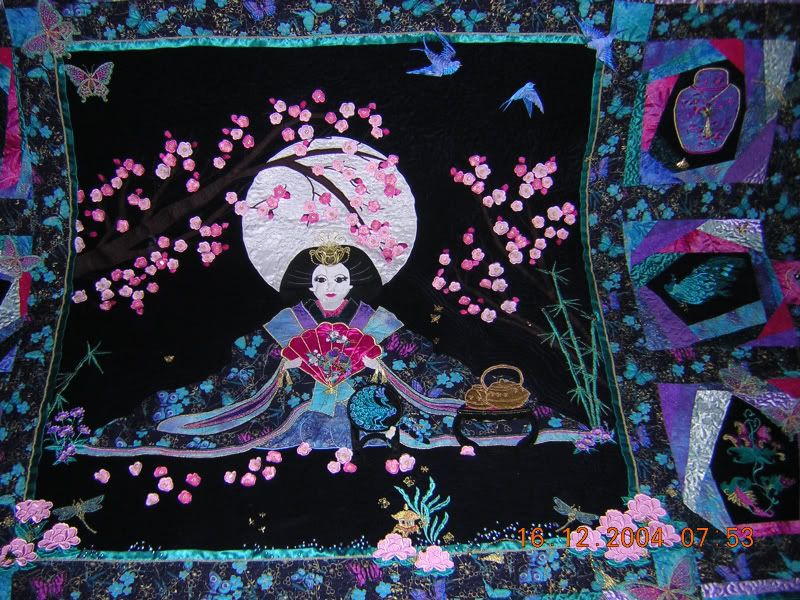
I digitised this large dragonfly and took it for a test spin. Made a couple of alterations and then thought for those who may not have tried their jumbo hoop because it looks too intimidating, a pictorial tutorial (try saying that fast), may just get that hoop out of the box......so here goes.
First you need a jumbo design - there are a few about. First, send the design to the machine - if your software allows the jumbo hoop, save the pieces in the order they need to be stitched - in this case it is the single wing first, then the second wing and the body (these two are saved together).
When you send the design to the machine, the machine will ask you to select the first piece of the design - edit this piece on the machine if you need to - adding colour choices, stops (in cases of an applique design), just as you would for any design.
Go to the "Sewing" screen and begin stitching the design piece. When stitching is complete, the machine will signal for you to "come hither and do as I tell you" - or ring the chime many, many, many times...........
Now, you need those stickers that look like a snowman........The panda is just hiding my disgusting fingernail that is coloured from all the dyeing!
That little sticker now needs to be positioned within the red square on the screen - make sure it is stuck down firmly. Press the okay button.
When the machine has recognised the snowman you will see the red outline. Make sure you put the sticker on with the small circle to the top! See how the snowman has gone red!
The machine will now tell you to take the hoop out of the machine and turn. The sticker needs to be left in position at this point. When the hoop is in position, press the OK key again.
The machine will again move until it has found the sticker which is now upside down.
Now you can remove the sticker and select the next piece of the design.
The second piece of the design will now be in the correct position and you can begin stitching. I put a basting stitch around both sides of the wings so I could tell immediately that the wings were at the same level on both halves.
Give it a go. Sue xxx


 Quilter Blogs & Store Search